Preparing (1h 40min)
- Before starting, we should disinfect all surfaces and dishes that may come into contact with milk.
- Determine whether milk is suitable for making cheese. It has to go through the bactericidal phase (cold milk from the previous day usually works). If you have a PH meter, the PH level of milk should not be outside the PH 6.55–6.75 range (which is very rare).
- Pasteurize milk: heat it to 65 °C and keep it at this temperature for 30 minutes. Can heat up to 70 °C and hold for 15 minutes.
- Quickly cool the milk, for example, in a cold bath to 30 °C (it could take 15 minutes), or heat the already pasteurized milk.
|
Processing (6h)
- Add Micromilk ME (0.6gr.) cheese culture into the milk (PH 6.53).
- Wait 5 minutes and stir the cheese culture into the milk and leave it for 60 minutes.
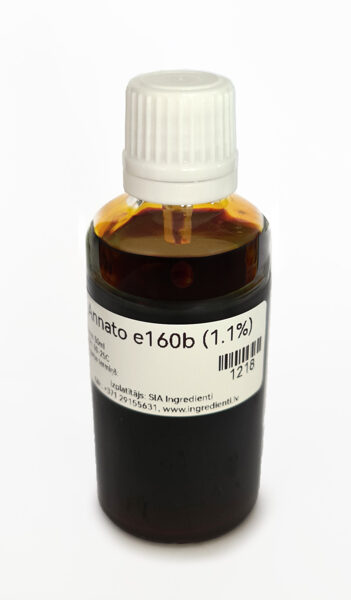
- Add annatto (8 drops).
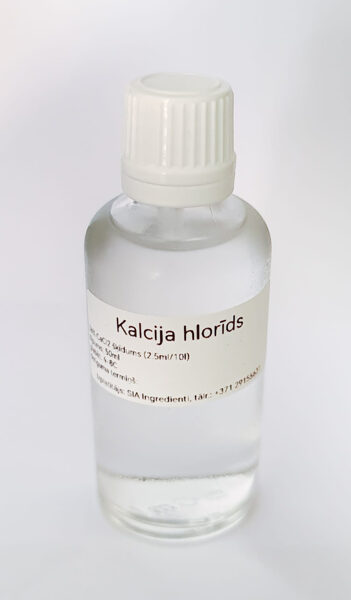
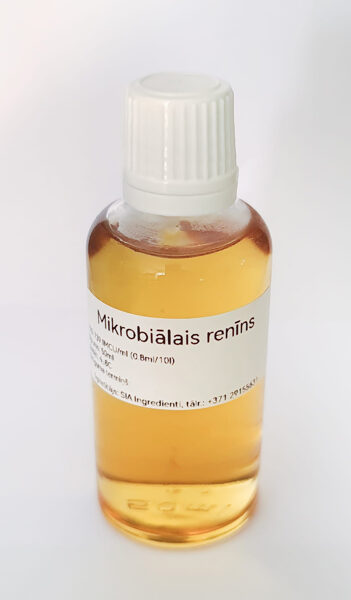
- Add calcium chloride (2.5ml), rennet (1.5ml) into the milk and stir within 60 seconds (at this stage the milk the temperature should be 30C). Calcium chloride and rennet must be diluted before adding to milk with 50ml of clean water first.**
- After adding a rennet, start the timer to determine the flocculation point. Generally, the flocculation point for most of the cheeses is 3. That means that if the milk has thickened (forms a curd) within 12 minutes, you can move on to the next stage only after 36 minutes (12x3 = 36 minutes).
- Cut the curd into 0.5-1cm cubes, approximately, and leave for 10 minutes.
- After 5 minutes, carefully divide even more finely (about half) with a whisk or knife into 0.6-0.7cm cubes and leave for another 5 minutes.
- After 5 minutes, slowly and gently stir and heat up to 32C within 15 minutes.
- Keep at 32C for 60 minutes and stir every 10 minutes so that the cheese grains do not stick together.
- After 60 minutes, remove the whey to the level of the cheese.
|
Pressing and salting (1h + 18h 30min)
- Start 2 hours long cheddarization process: put the cheese in a strainer, so that the whey has a chance to be released throughout the cheddarization process and put in strainer back into the pot to maintain a temperature of 30C. It is better to put the strainer on the elevation so that the whey that will be at the bottom does not interfere when heating the pot for cheese. The lid of the pot must be closed. Hands can be used as a small press to would squeeze out the remaining whey throughout the cheddarization process. Leave it for 20 min.
- After 20 minutes, turn the cheese and leave it for another 20 minutes.
- After 20 minutes, cut the cheese into large pieces (in 4 parts), fold them differently and leave it in the same strainer for another 30 min.
- After 30 minutes, separate possibly stuck large pieces from each other and cut them in half again, fold them differently and leave them in the same strainer for another 30 min.
- After 30 minutes, again separate possibly stuck large pieces from each other and cut them in half again, fold them differently and leave them in the same strainer for another 30 min.
- After 30 minutes, remove all the pieces of cheese from the strainer, transfer them to the already dry pot and leave for 30 min.
- After 30 minutes, the acidity level of the cheese should be around PH 5.2-5.4. If the acidity of the cheese is not achieved during this time - increase the dose of culture next time and wait more time for now. The cheese at this stage is elastic and squeaky, while chewing.
- Tear pieces of cheese into 1-2cm pieces.
- Salting. Add 1-1.5% non-iodized table salt from the cheese mass weight, stir and leave in the pot for 20 minutes.
- After 20 minutes, add another 1-1.5% salt, stir and leave in the pot for another 20 minutes.
- Pressing. Mix the cheese, put it in a hard and durable form (for example, in the form of Gouda with micro-perforation) and press for 30 min. Because of the high level of the acidity, the cheese grains do not stick so easily to each other, therefore, the pressing force must be so high that the cheese grains can stick together. If it hasn't happened after the first pressing, then your PH level is too low (high acidity level), the cheese grains are too dry and were applied little force when pressing. At the beginning, you should use at least 5kg of force and gradually increase strength.
- After 30 minutes, turn it around and press for another hour.
- After 1 hour turn and press for another 4 hours.
- After 4 hours, turn around and press for another 12 hours.
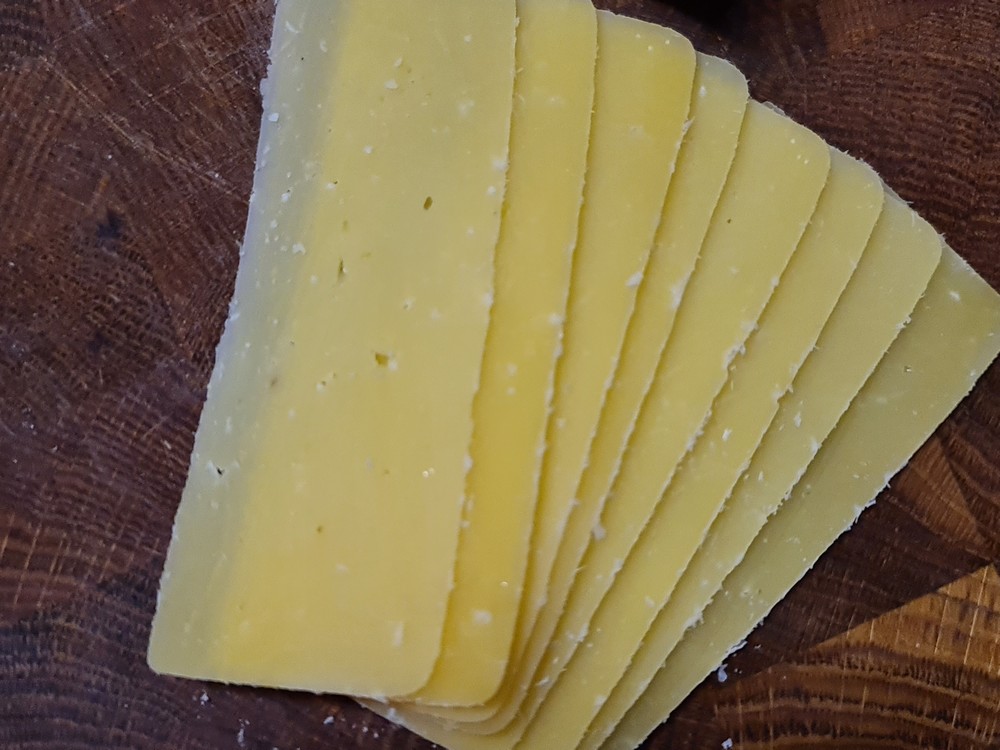
- After pressing, put it in the refrigerator for a few days (5-10 days) to dry. When the surface is dry and not cracked, cover the cheese with a protective coating (wax, latex or vacuuming). For beginners, we recommend vacuuming this cheese, because with this process it is easy to maintain the microclimate, the cheese will not spoil.
|